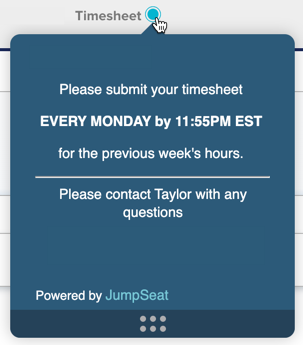
JumpSeat Wayfinder Guides provide context and information related to a certain feature or attribute on a page of an application. This type of JumpSeat Guide gives quick information without launching a JumpSeat Process Guide.
The process for adding steps to a Wayfinder guide is similar to building a Process Guide, however you will only need to edit the Content area, the Style area, and you can update the location in the Location area.
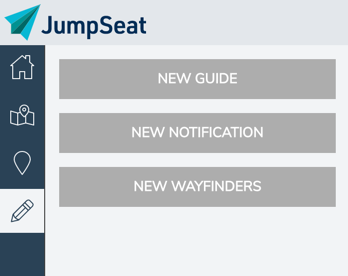
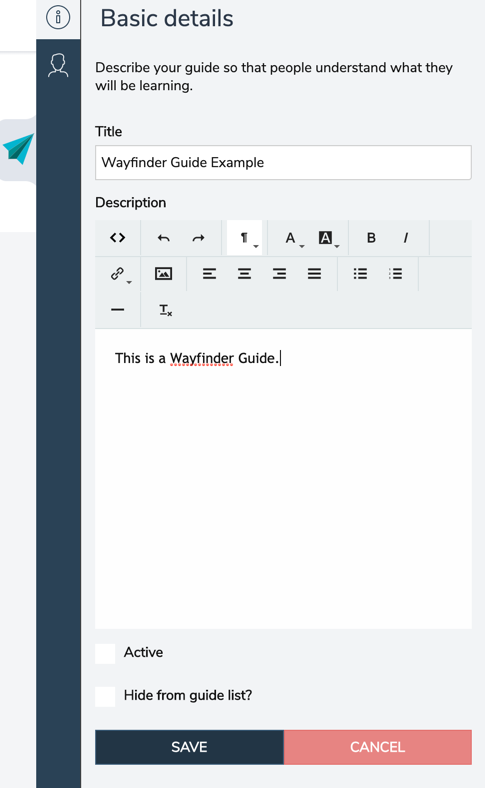
Begin by selecting Wayfinder from the New Guide menu. Give the Wayfinder Guide a name and description, and select Save to continue.
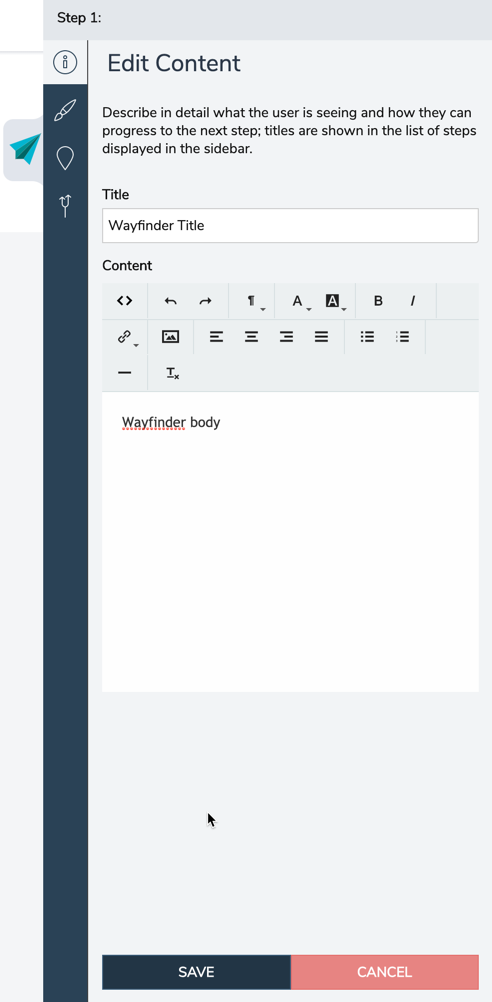
Once saved, the element selector appears. Choose the element in which to associate the Wayfinder and the tooltip. Once selected, JumpSeat will display the Edit Content menu. Add a title to the Wayfinder tooltip, and any relevant content. Select Save to continue.
To further configure and customize the Wayfinder, you can update the following JumpSeat options:
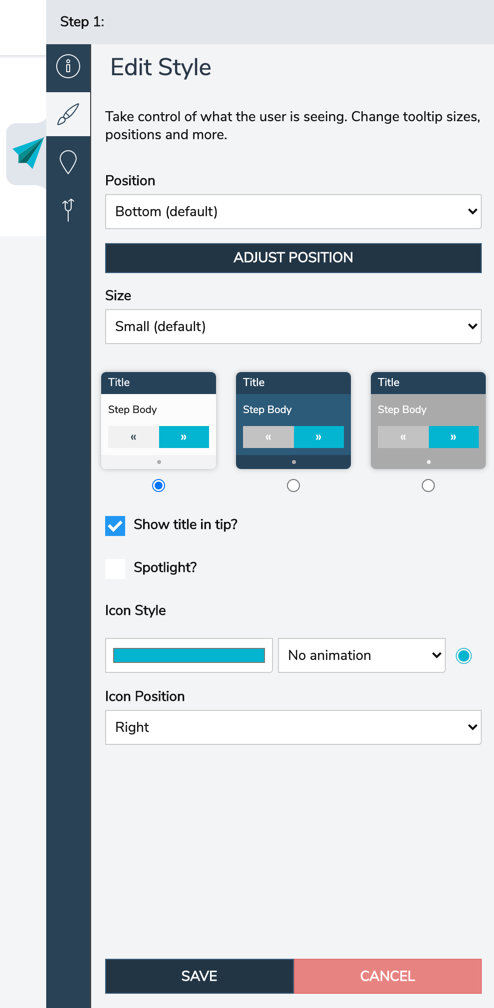
Style: Update the position of the tooltip, the color of the Wayfinder badge, and update any animation of the badge.
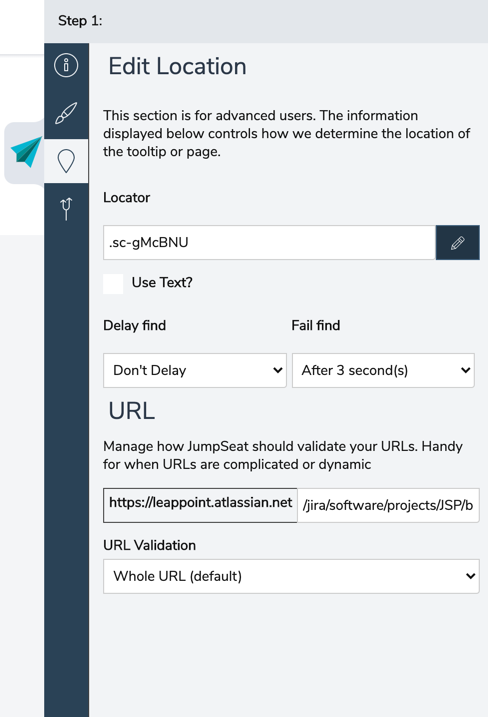
Location: View the element to which the Wayfinder badge is associated. If necessary, update the location here by clicking on the pencil.
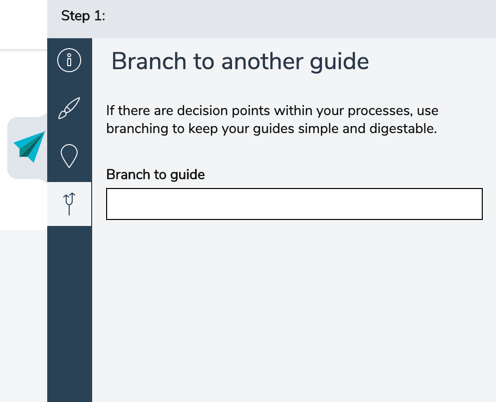
Branching: Build in links to other Process Guides in the Wayfinder tooltip.
Best practices:
- Create one Wayfinder tooltip per Wayfinder Guide – avoid building multiple Wayfinder tooltips in a single guide.
- Select “Hide Guide” so that Wayfinder Guides do not appear in the JumpSeat Console
- Consider adding Branched Guides to a Wayfinder tooltip – JumpSeat users can launch related Process Guides directly from the Wayfinder!
