JumpSeat comes with two Roles out of the box:
1. Administrator
2. Application user
Custom roles are useful when you want to segment content further in order to customize what certain users see. To create a custom role, complete the following steps:
1. Navigate to the Roles tab within the application
2. Click the New Role button
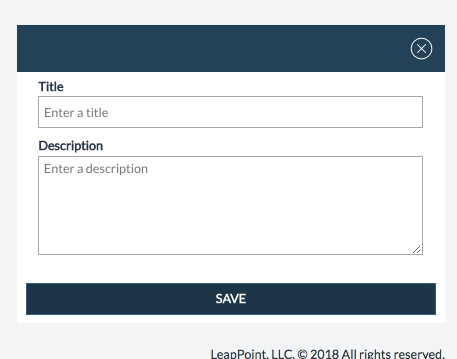
3. Give your Role a name and a description – this will not be visible to the end user
4. Click Save
5. Inside the Role page there are four tabs: Pathways, Guides, Users, and Permissions.
6. Add any relevant pathways to the Role. Note that you can choose which guides from the pathway are pulled over – you may exclude some.
7. Add relevant guides to the Role, including any which did not belong to a pathway which you already added.
8. Add users to the Role. Who should be accessing the pathways and guided which you’ve just aligned with the Role? Users can belong to multiple roles, but they will see all of the content across all of the roles to which they are aligned.
9. The permissions toggles can be left AS IS for any custom role which applies to end users (not an admin).
