JumpSeat uses HTML elements as anchors to attach guides to, meaning that a guide can be attached to almost anything viewable in a web browser. It is important to note that all media files including, Images, HTML videos, and Adobe Flash content are all interpreted as a single “element” by modern browsers, and will only be able to be associated with one JumpSeat guide. To create guides, you must be an authenticated JumpSeat user, and have administrative privileges active in your account.
To create a standard guide within the guide configuration panel within the hosted application:
Open up the console and click the red Create a Guide button, a prompt will then appear to select what type of guide to build: standard or notification.
Click Standard Guide.
A pane will open up to enter the Title and Description and other settings:
- Active: Will this guide be viewable to users? Not recommended if in draft status.
- Auto Start: Enforce that users take this guide by setting to to auto-start the next time users log into the application.
- Restrict Availability by Date: Check this to limit the guide to a certain period of time.
To create a guide from the JumpSeat administrative instance:
- Login to JumpSeat to reveal the application landing page, or click the Home button from the main menu
- Click the application URL to open the application and choose Guides from the menu on the left side of the page.
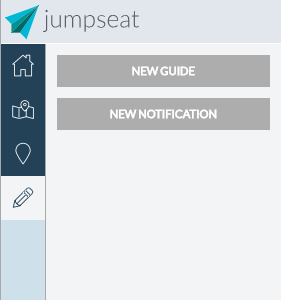
- Click the Create a New Guide button from the top of the page.
- Give the guide a name and short description
- If you would like the guide to be immediately active, click the checkbox beneath the “ACTIVE” title.
- Once you are happy with your new guides, basic information, click “Save”. The new guide will be added to the application guide list

